
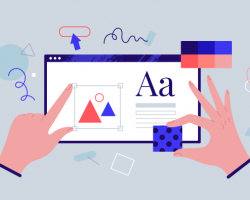
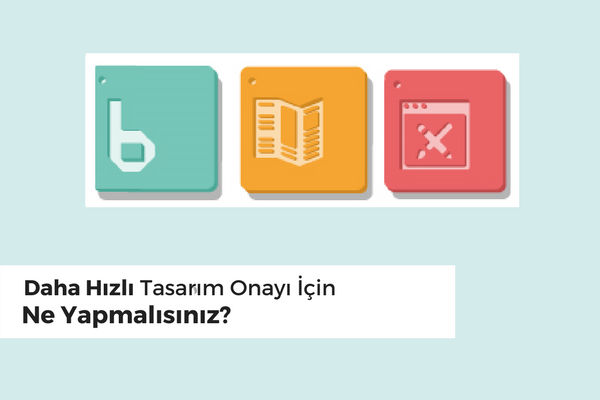
What Should You Do For Faster Design Approval?
What Should You Do For Faster Design Approval? You can also use the ready-made templates in the lower left area of the product pages to help you prepare designs more easily.
Your product size and design size should be the same
Standard sizes such as A3 (270x392mm), A4 (194x270mm), A5 (133x194mm) vary as follows;
A3( 270x392mm), A4 (194x270mm), A5 (133x194mm)
Therefore, you should prepare the design of your product orders by referencing the above measures. You can also use the ready-made templates located in the lower-right area of the product pages to make it easier to prepare designs.
Don't Forget To Give Overflow
Overflow margin is a 3 mm cut margin left so that there is no white area on the edges when cutting products. For example, when you add a 3mm bleed to an A5 (133x194mm) flyer design, your design will measure 139x 200mm. When loading your design, be sure to add a 3 mm bleed on the right, left, bottom and top directions of your order size. After cutting, the size of the finished product will be 133x194 mm.
Work Important Areas That Should Not Be Interrupted In A Safe Area
You must leave important objects, such as logos and fonts used, in a safe area / blue frame.
If you want to use a frame in your design, you should make sure that it is at least 5’ mm thick. Otherwise, millimeter shifts that may occur in the cutting may show your design disproportionately.
Notice These When Working On The Template
The templates contain information that can help you. First, read this information carefully. Before starting the design, remember to remove the template lines and text contained in the template.
Do not leave any fine lines on the outlines of your design or on the exact cutting location.
Be sure to work in the design layer. Because the design that you will make in the template layer will not appear in print. For this reason, you must work in the design layer and unlock and delete it when you are finished with the template layer.
Take A Look At Our Graphic Advice
When preparing designs for multi-page products such as catalog, insert, each page should be worked on a separate page, right and left page adjustments should be made.
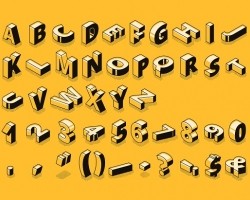
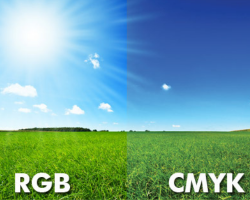
For a quality print, the images you use in your designs must be in CMYK format, 300 DPI or vector.
It is useful to convert text and embed images so that there are no problems with your design.
You will send documents in PDF format you must save and submit your design as a press Quality PDF.
Working In Photoshop Format
A lot of attention should be paid to the colors used when working in Photoshop format. Black colors used in 4 colors cannot be drawn to a single color. So when making your design, you should give blacks only from the K value of CMYK.
Because Photoshop is a pixel-based program, the print quality in text is lower than in vector programs. If you design your print jobs in a vector program, you can get better print quality.
Using Lacquer Application
Generally, areas suitable for lacquer application are logos and large images. For this reason, in order to apply lacquer, the area to be applied must be of sufficient size and thickness. Lacquer application can not be done in small and thin visuals.
There is a risk of deforming the area where the lacquer application will be made. For this reason, the lacquer area should be at least 3 mm away from the area to be cut.
Graphic work of the area to be applied to the lacquer must be sent. Areas to apply lacquer should be specified in a separate layer with 100% black, and graphic work of the lacquer area should be sent separately.
Blog

Comments